Ontario cedar hedge repair guide
How to Replace Dead Cedars in an Existing Hedge
A dead cedar can often be replaced without removing the entire hedge. The lasting fix is to identify why it died, protect the neighbouring roots, prepare the site correctly, and give the new tree focused care through its first Ontario growing season.
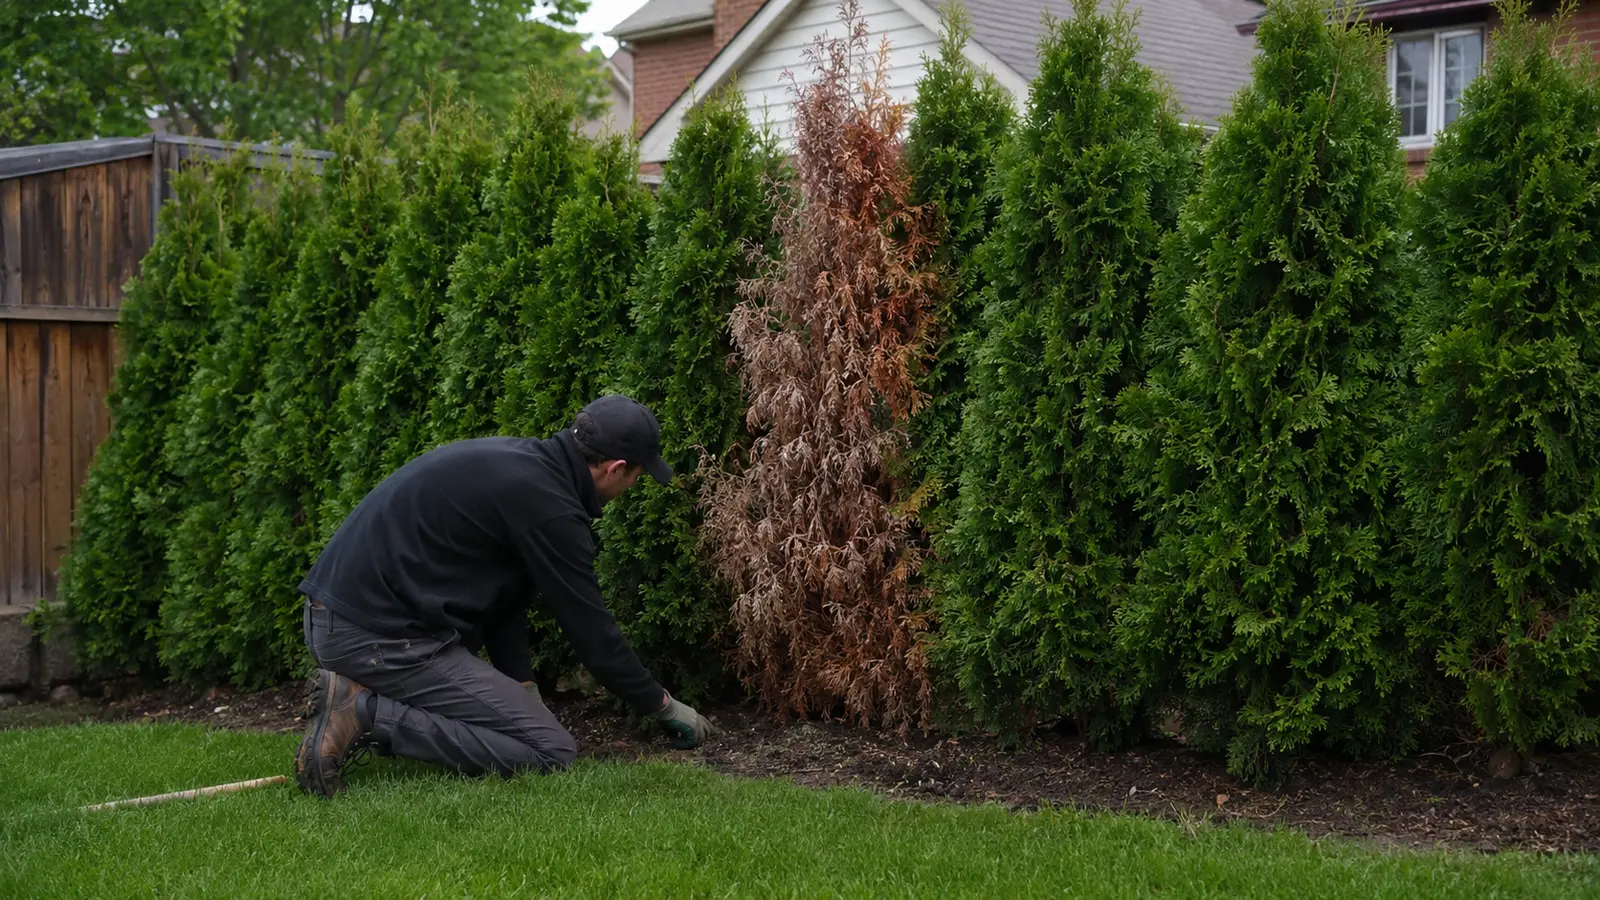
First, make sure the cedar really needs replacement
Brown foliage does not always mean the entire cedar is dead. Winter burn, a dry root ball, salt spray, broken branches, or a short irrigation failure can damage one side while other parts remain alive. Inspect multiple branches and look beneath a tiny section of outer bark for moist green tissue.
If the tree is brown from top to bottom, brittle throughout, and shows no living tissue, replacement is usually the practical option. When only part of the cedar is affected, correct the underlying stress and allow time to assess the remaining growth before removing it.
If several cedars are declining, roots are rotting, or unusual lesions and dieback are spreading, pause before moving soil or tools between plants. A qualified landscape or plant health professional should identify the pattern first.
Tools and materials you may need
Work gloves, eye protection, and sturdy footwear
Hand pruners, loppers, and a pruning saw
Sharp spade, shovel, and hand trowel
Measuring tape and guide string
Tarp or wheelbarrow for old roots and soil
Healthy replacement cedar with intact root ball
Suitable soil or compost only where site correction requires it
Hose, watering wand, and natural mulch
Before digging, identify private irrigation, lighting, and other shallow lines and arrange required public utility locates. Do not assume the old planting hole is clear.
Step by step: replace the dead cedar correctly
Step 1
Confirm the cedar is dead
Check several branches for flexible green tissue beneath the outer bark. A fully brown, brittle tree with no living tissue is unlikely to recover, but a partly green cedar may need diagnosis and corrective care instead of removal.
Step 2
Find the cause before replacing it
Check soil moisture, drainage, planting depth, root condition, winter exposure, road salt, irrigation coverage, trunk damage, and nearby cedars. Correcting the original problem is more important than simply installing another tree.
Step 3
Measure and choose a matching cedar
Record the gap, neighbouring tree height, hedge width, sunlight, and trunk spacing. Choose the same cedar type when possible, but prioritize a healthy root system and a size that can establish without being forced into a narrow opening.
Step 4
Remove the dead cedar carefully
Tie back nearby branches, cut the dead top into manageable sections, then dig around its root ball. Work by hand near neighbouring roots and irrigation lines. Remove as much of the failed root mass as practical without destabilizing healthy cedars.
Step 5
Correct the planting site
Inspect for standing water, compacted clay, buried root flare, circling roots, construction debris, or dry pockets. Loosen the sides of the planting area and improve drainage or grade where necessary. Avoid turning the hole into a soft pot surrounded by hard clay.
Step 6
Plant at the correct depth and alignment
Set the root flare at or slightly above the surrounding finished grade. Align the new cedar with the existing trunk line, backfill evenly, remove large air pockets with water, and keep soil and mulch away from the trunk.
Step 7
Water and monitor through the first season
Water the replacement root ball slowly and directly rather than assuming the hedge irrigation reaches it. Check moisture below the surface, adjust for rain and heat, and watch for leaning, browning, saturated soil, or dry edges.
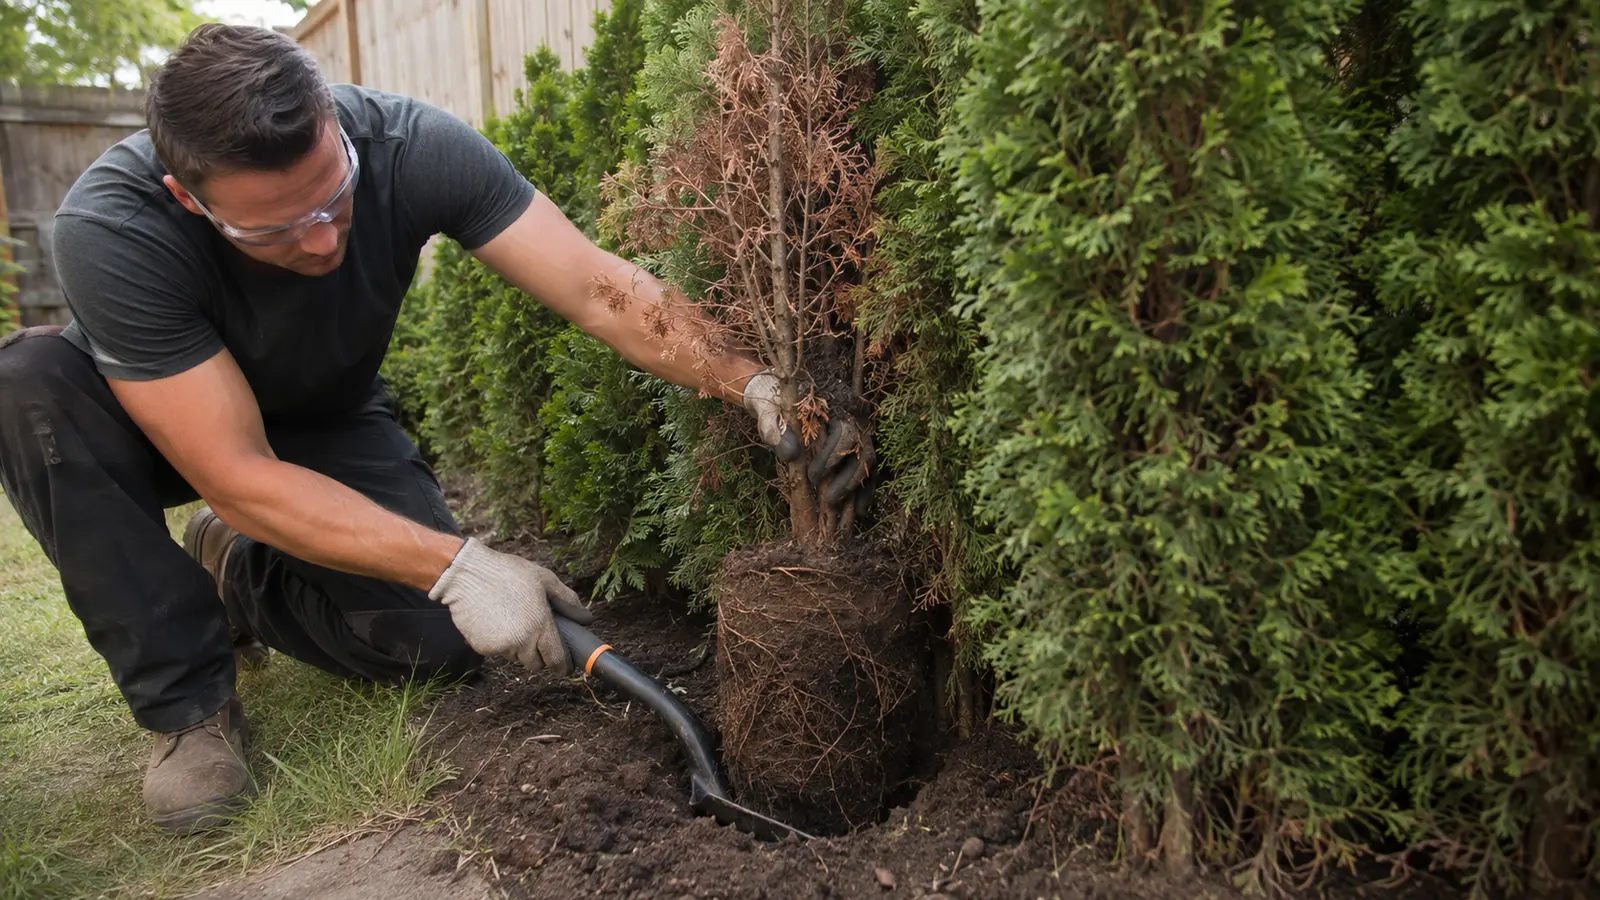
Protect the neighbouring cedars during removal
Established hedge roots overlap. Aggressive pulling or a wide machine excavation can damage the healthy trees you are trying to preserve. Tie branches back gently and expose the failed root ball in stages.
Cut only roots that belong to the dead tree when you can identify them. If access is extremely tight or the dead cedar is large, professional removal can reduce unnecessary damage.
Fix the reason the first cedar failed
The empty space is your best opportunity to inspect the root zone. Replacing the tree without changing a wet, compacted, salty, deeply planted, or poorly irrigated site often produces the same result.
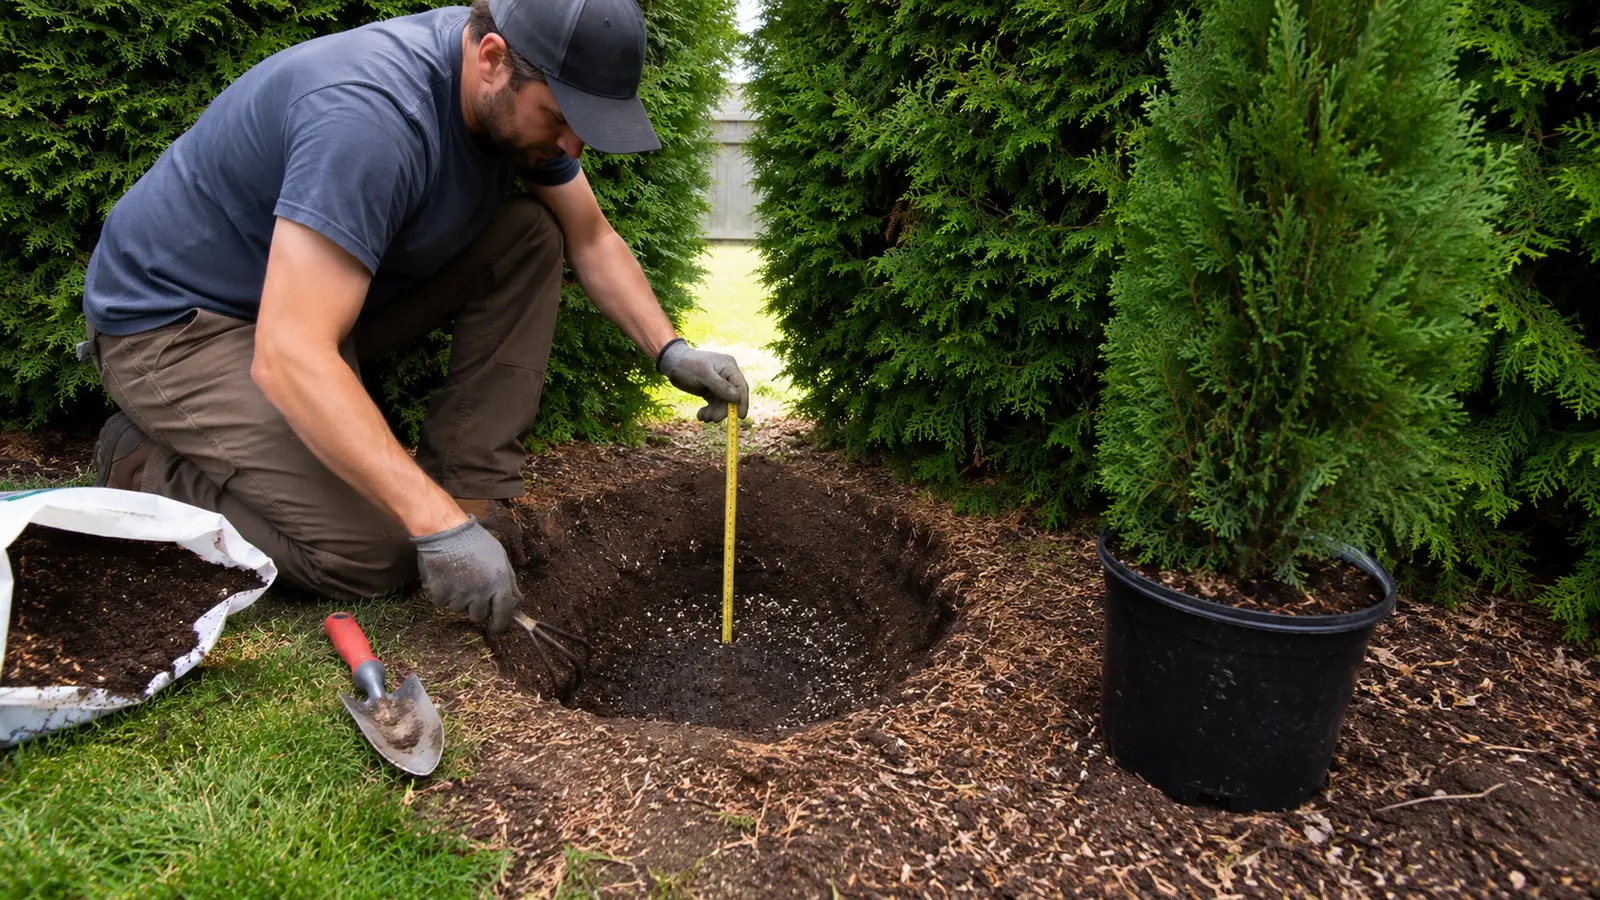
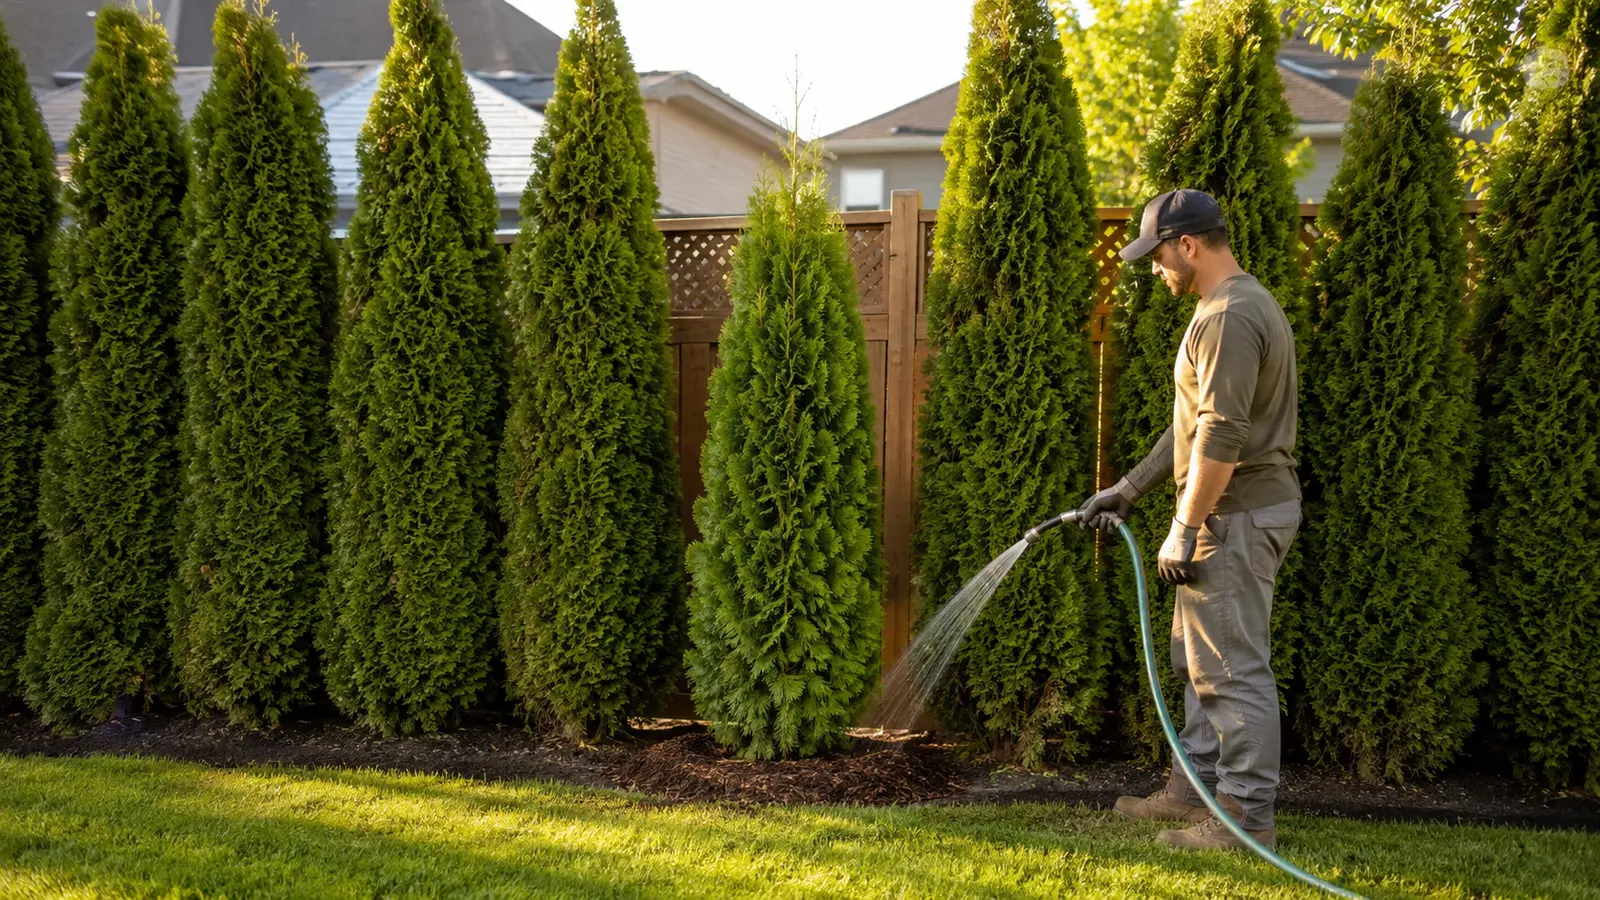
Give the replacement its own watering plan
The mature hedge and the new cedar do not have the same root system. Existing roots can draw moisture from a wide area, while the replacement depends on its compact root ball.
Water slowly at the new root zone and check soil moisture by touch before adding more. Follow our cedar watering guide and adjust for rainfall, heat, drainage, tree size, and soil. For mixed garden beds, use our newly planted shrub care timeline for the first days through long term care.
Common cedar replacement mistakes
Replacing before diagnosing
A new tree cannot overcome unresolved drainage, salt, irrigation, or planting depth problems.
Forcing in an oversized root ball
A large tree may look better immediately but can require damaging neighbouring roots or planting too deeply.
Filling the hole with rich soft soil
A sharp difference between the planting hole and surrounding clay can discourage roots from expanding and can hold excess water.
Depending on lawn sprinklers
Short lawn irrigation cycles may wet foliage and surface soil without soaking the replacement root ball.
Burying the trunk in mulch
Keep a modest mulch layer over the root zone and leave clear space around the trunk.
Dead cedar replacement FAQ
Can one dead cedar be replaced without removing the whole hedge?
Yes. A single dead cedar can often be removed and replaced while preserving the rest of the hedge. Access, root crowding, disease concerns, and the condition of neighbouring trees should be assessed first.
What is the best time to replace a dead cedar in Ontario?
Spring and early fall usually offer cooler conditions and easier establishment than peak summer heat. Container grown cedars can be planted during the growing season when the ground is workable, but reliable watering becomes especially important in hot or dry weather.
Will a smaller replacement cedar catch up with the hedge?
A smaller healthy cedar can establish well, but it may take years to match a mature hedge. A larger tree can close the visual gap sooner, although it requires a larger root ball, more access, careful handling, and consistent watering.
Should old soil be removed before planting the replacement?
Do not automatically replace all soil. First identify why the original tree failed. Remove debris and badly compacted or contaminated material, correct drainage, and prepare a broad planting area that encourages roots to grow into the surrounding soil.
Why does the same spot keep killing cedars?
Repeated failure commonly points to a site problem such as poor drainage, compacted soil, inconsistent irrigation, salt exposure, excessive planting depth, damaged roots, or unsuitable light. The location should be diagnosed before another cedar is installed.
NorthCedar can repair the gap in your cedar hedge
We replace failed cedars across Toronto and the GTA. Send us clear photos of the full hedge, the dead tree, and the soil at its base, plus the approximate cedar height and your location. We can assess access, recommend a suitable replacement, prepare the site, plant, align, and water the new cedar professionally.