
Ontario fall maintenance guide
Sprinkler Blowout & Irrigation Winterization in Toronto
Prepare your underground irrigation system before freezing weather. Learn what winterization involves, which tools are required, and why controlled pressure matters.
Why Toronto sprinkler systems need winterization
Water left inside buried irrigation pipe, valves, backflow devices and sprinkler heads expands when it freezes. Even a small trapped pocket can crack a fitting or create a leak that remains hidden until the system is started in spring. A proper sprinkler blowout in Toronto isolates the water supply and removes residual water zone by zone before hard freezes arrive.
Winterization is more than switching the controller off. The safest method depends on pipe material, system layout, compressor airflow, component pressure ratings and the manufacturer's instructions. If those details are unknown, book a professional instead of guessing.
Best time in the GTA
Schedule irrigation winterization in late September or October, before repeated overnight temperatures below freezing. Early booking gives time to identify repairs and avoids the rush before the first hard freeze.
Tools and equipment required
- Air compressor with sufficient continuous airflow for the system
- Adjustable pressure regulator and readable gauge
- Correct irrigation blowout adapter and rated air hose
- Safety glasses, hearing protection and work gloves
- Controller access, zone map and manufacturer documentation
- Basic hand tools and materials to protect exposed components
Compressed-air safety
Compressed air can damage irrigation equipment and cause serious injury. Never exceed the lowest pressure rating in the system, never leave the compressor unattended, and never stand above an active head.
A small homeowner compressor may build pressure without supplying enough airflow, encouraging long cycles that can overheat components. When the layout or ratings are uncertain, use a trained irrigation professional.
Step-by-step overview
How a professional sprinkler blowout works
These steps explain the process, but they do not replace system-specific instructions. Valve positions and safe pressure vary by equipment.

1. Shut off the irrigation water supply
Locate the dedicated irrigation shutoff and close it fully. Do not shut off the home's main water supply. Open the system's approved drain points and follow the manufacturer's instructions for the backflow device. Simply turning off the controller does not remove water trapped in underground lines.
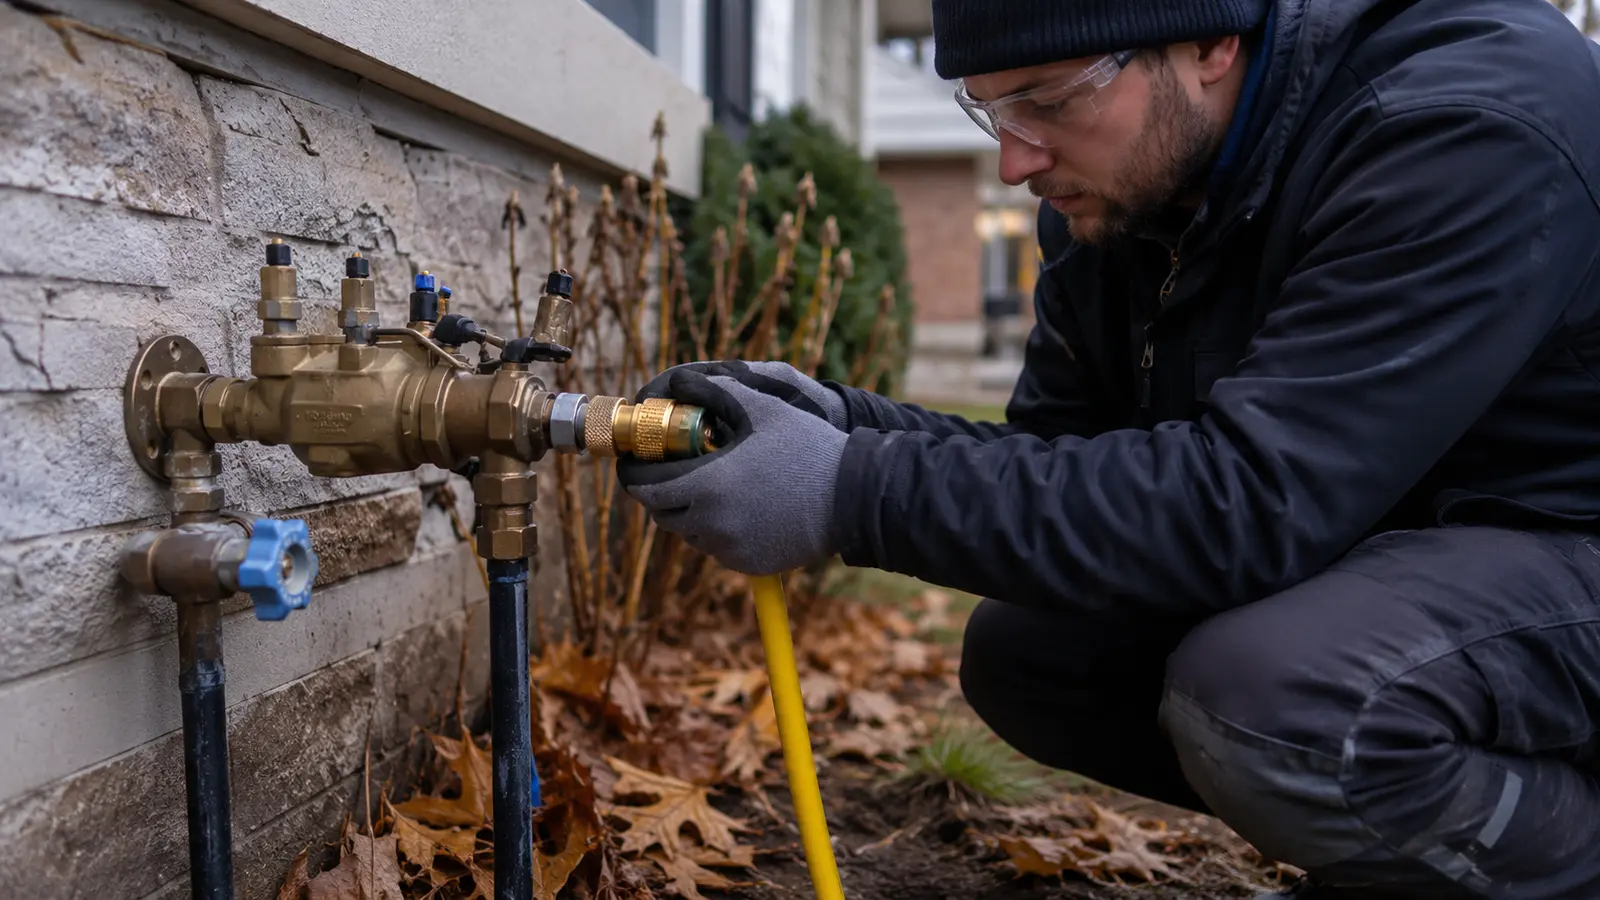
2. Connect the compressor at the correct blowout port
Use the designated downstream blowout connection and the correct adapter. Never force compressed air through a backflow preventer, pump, or component that is not rated for it. A pressure regulator is essential: excessive pressure can crack fittings, damage valves, or launch sprinkler parts.
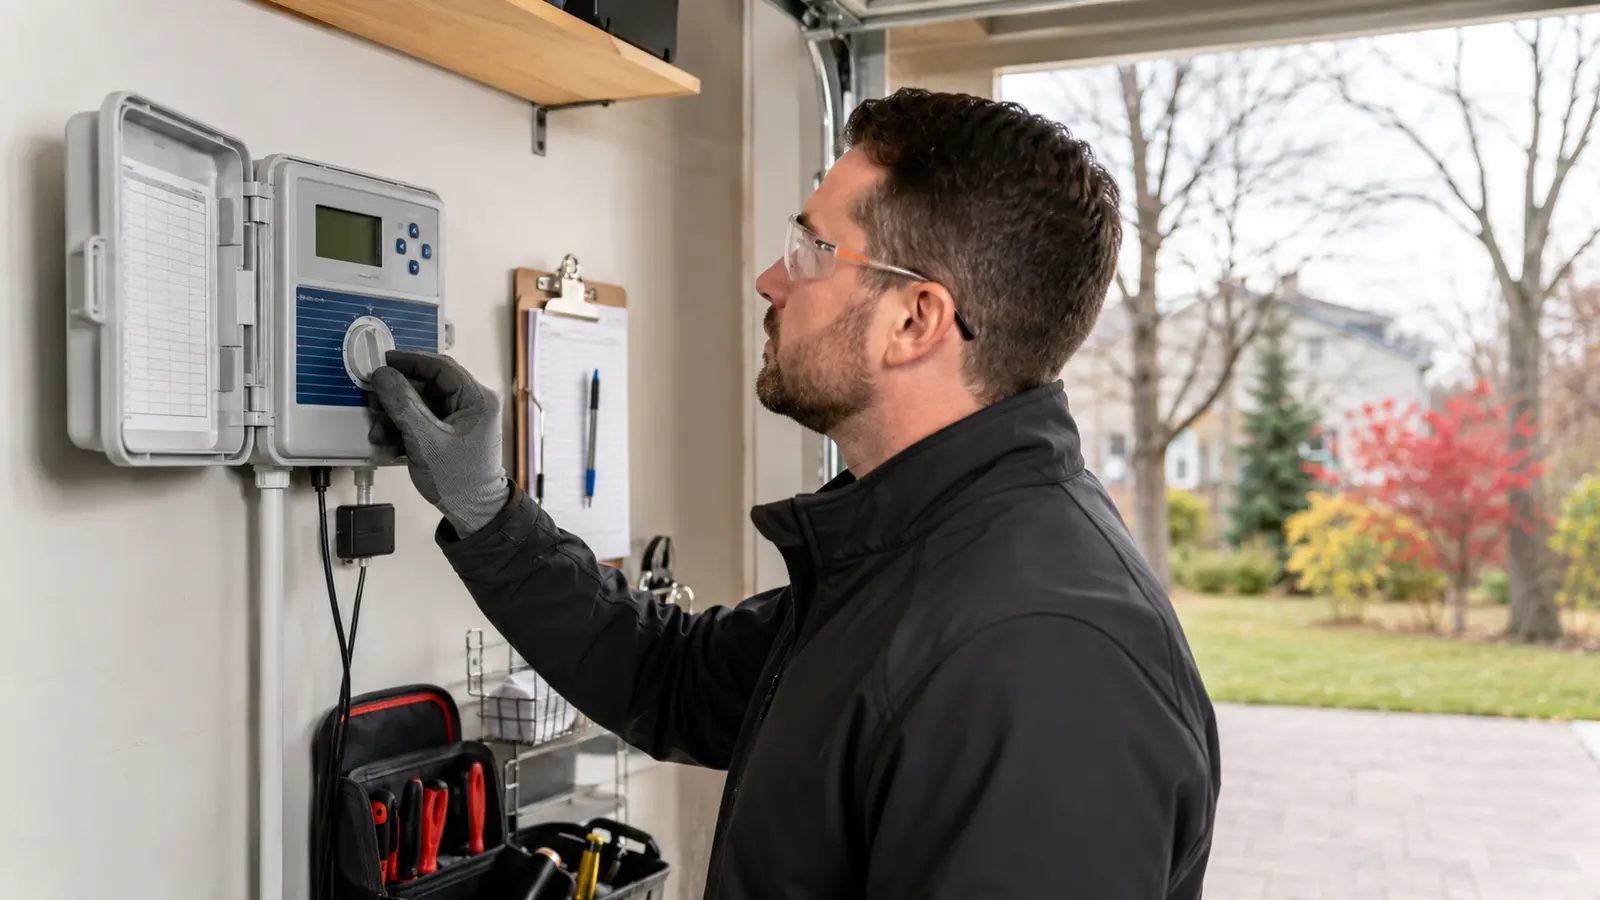
3. Prepare the controller and select one zone
Run only one irrigation zone at a time so air has a controlled escape path. Record the zone order and note any heads that do not rise, leak, or spray normally. The controller can be placed in rain or off mode after winterization, while retaining programming if the model supports it.
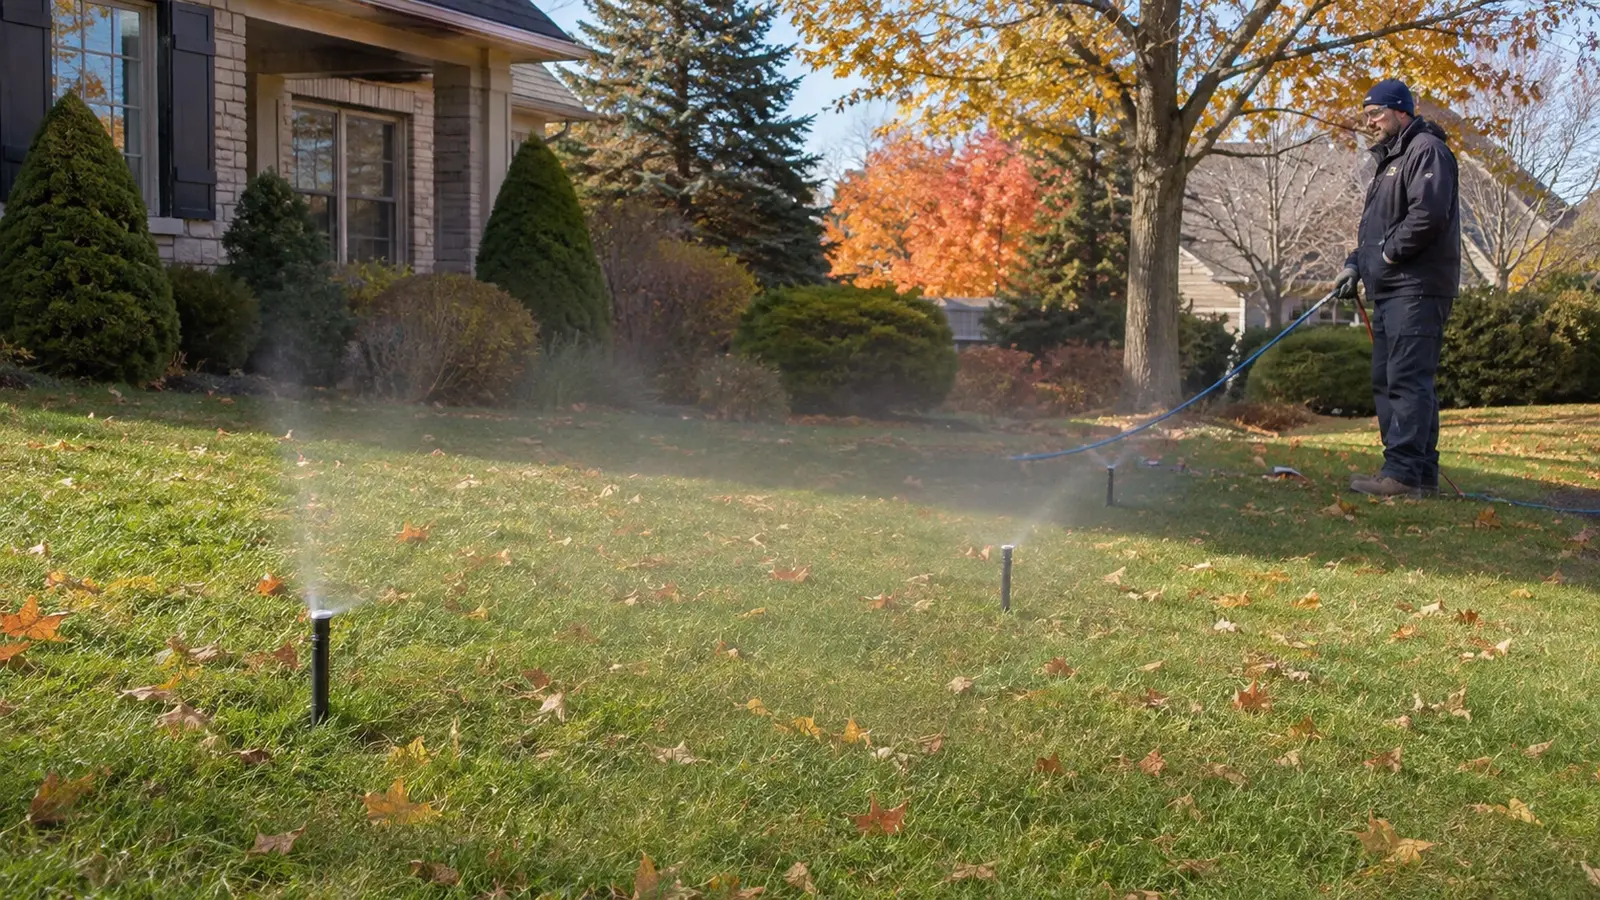
4. Blow out each zone carefully
Introduce regulated air gradually and watch the heads from a safe distance. Stop when the discharge changes from water to a light mist; prolonged dry operation can overheat moving parts. Repeat only as needed, following the equipment manufacturer's pressure and airflow limits. Never stand over a sprinkler head while the system is pressurized.
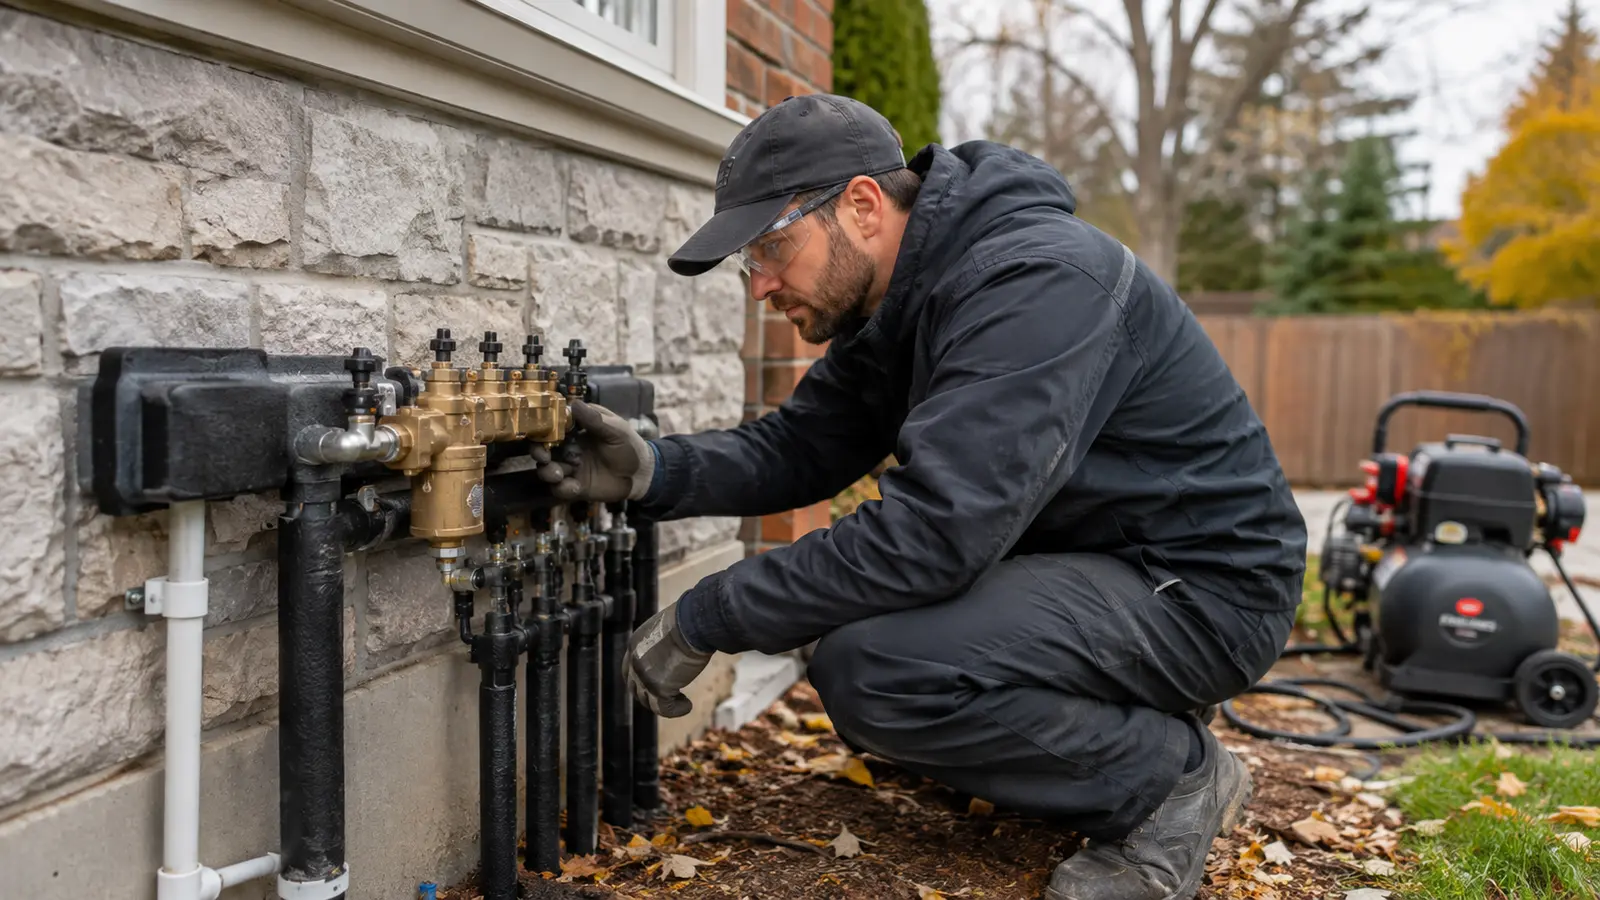
5. Depressurize, drain, and complete the final check
Turn off and disconnect the compressor, then confirm the system is fully depressurized. Drain approved exposed components, position valves and test cocks as specified by their manufacturer, and protect vulnerable above-ground equipment. Tag the irrigation supply as winterized and record leaks or repairs needed before spring startup.
What can go wrong with DIY winterization?
Let NorthCedar winterize your sprinkler system
Avoid freeze damage and the risks of working with compressed air. NorthCedar offers sprinkler blowout and irrigation winterization service in Toronto and across the GTA. Call (647) 642-4447 or send your location, number of zones and system photos for a quote.
Sprinkler winterization FAQ
When should I winterize my sprinkler system in Toronto?
Book before the first sustained freeze—commonly from late September through October in the GTA. Do not wait for frozen ground or a forecast of several nights below 0°C.
Can I winterize sprinklers without an air compressor?
Manual or automatic drains can remove some water, but low points, valves and heads may still hold enough water to freeze. Whether air is required depends on the system design and manufacturer instructions.
What happens if irrigation lines freeze?
Expanding ice can split poly or PVC pipe, crack valves and backflow assemblies, damage heads, and create underground leaks that appear during spring startup.
Does NorthCedar provide sprinkler blowout service?
Yes. Contact NorthCedar to request irrigation winterization in Toronto or the GTA. Share your location, approximate number of zones, backflow setup, and system photos for scheduling and a quote.
Continue preparing your property for Ontario seasons with our cedar hedge trimming guide, Ontario lawn guide, and NorthCedar landscaping services.